Table of Contents
How to Screen Record on iPhone: Introduction
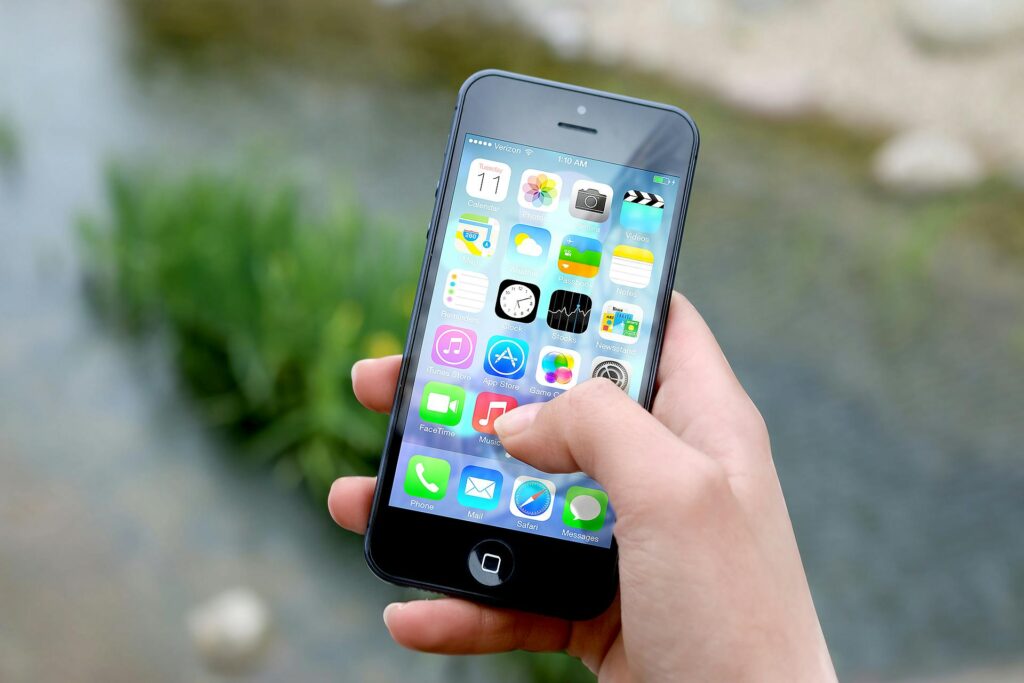
How to screen record on iPhone? This task, once perceived as daunting, is actually quite straightforward with the built-in features of iOS. This blog aims to demystify the process, offering a comprehensive guide on capturing your screen’s content, whether for work, education, or entertainment. Let’s dive into the seamless world of iPhone screen recording.
How to Screen Record on iPhone
Activation of Screen Recording in Settings
First, to enjoy the convenience of screen recording on your iPhone, you need to ensure the feature is accessible from the Control Center. If it’s your first time, here’s how to set it up:
- Open the Settings app on your iPhone.
- Scroll down and tap on Control Center.
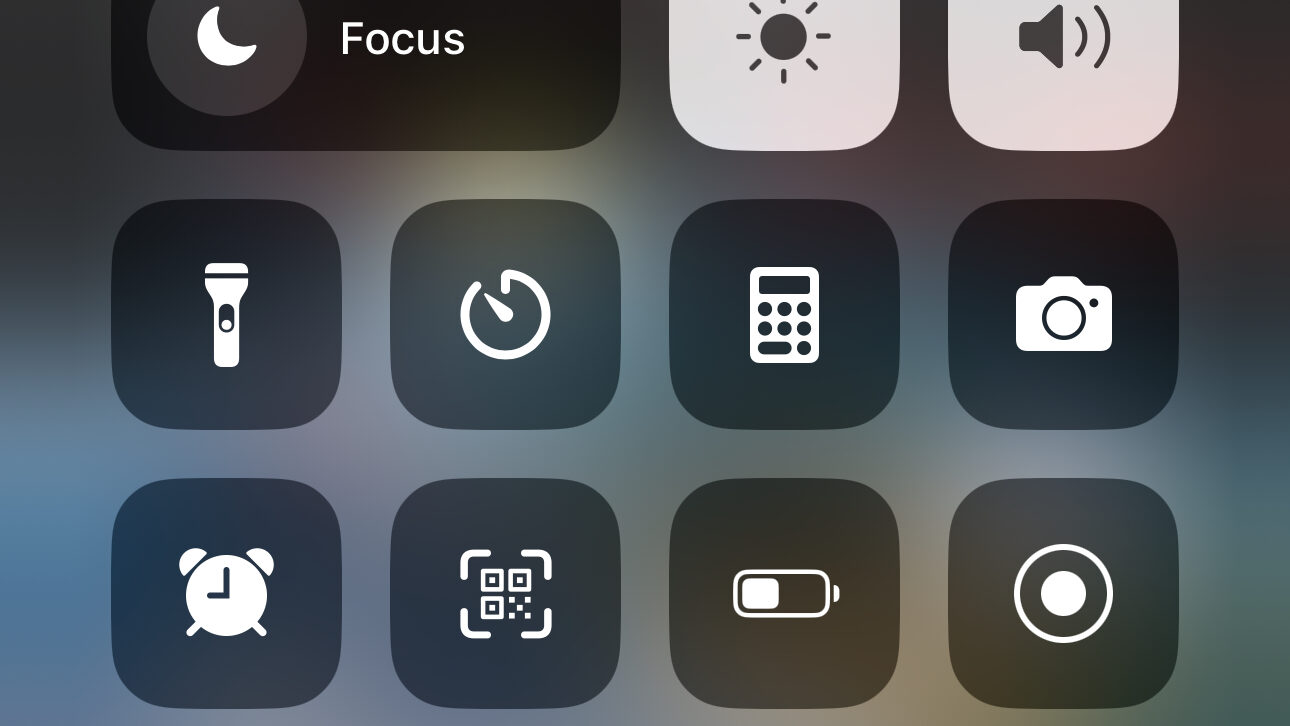
- Find Screen Recording and tap the green plus icon next to it. This action adds it to the Control Center for easy access.
How to Start Screen Recording
With screen recording added to your Control Center, you’re just a few taps away from capturing your iPhone’s screen:
- Swipe down from the upper-right corner of your screen to access the Control Center. If you have an iPhone with a Home button, swipe up from the bottom edge of the screen.
- Tap the screen recording button, which looks like a solid circle inside a ring. A three-second countdown begins, giving you time to switch to the app or screen you want to record.
- The status bar or time indicator turns red to signify recording has started.
Tips for Recording High-Quality Videos
For a smooth recording experience, consider the following:
- Ensure your iPhone has sufficient storage space.
- Use Do Not Disturb mode to avoid unexpected notifications during recording.
- Adjust microphone settings if you need to capture audio.
How to Stop Screen Recording
To stop recording, tap the red status bar at the top of your screen and select “Stop.” Alternatively, open the Control Center and tap the screen recording button again.
Troubleshooting Common Issues
If you encounter any problems, such as the recording not starting, check if Screen Recording is restricted under Screen Time settings, or restart your device for a quick fix.
Benefits of Screen Recording on iPhone
The iPhone’s built-in screen recording feature is not just a tool; it’s a gateway to a multitude of opportunities that can enhance our digital lives in various ways. Here are several key benefits of utilizing screen recording on your iPhone:
Educational Purposes
In the realm of education, screen recording on the iPhone has proven to be an invaluable asset. Teachers can create instructional materials by recording tutorials or walkthroughs of educational apps and digital resources. This not only enriches the learning experience but also provides students with a visual and interactive form of study material that they can refer to anytime. Similarly, students can record online lectures and presentations, ensuring they never miss out on crucial information, even if they cannot attend a class in real-time. This aspect of screen recording is especially beneficial for visual learners who absorb information better through visual cues and replayable content.
Professional Documentation and Demonstrations
Professionals across various industries can leverage screen recording to create detailed reports, demonstrate workflows, or document bugs and issues in software applications. For instance, IT professionals often use screen recordings to showcase a step-by-step solution to technical problems, making it easier for non-technical staff to understand and implement solutions. Similarly, app developers and designers can use screen recordings to present app prototypes or design ideas, providing a clear and direct way to convey complex information.
Creating Digital Content
Content creators, including YouTubers and social media influencers, find screen recording on the iPhone a convenient way to produce engaging and informative content. Whether it’s a tutorial on how to use a particular app, a review of a mobile game, or a walkthrough of a digital art creation, screen recordings help creators convey their message in a straightforward and effective manner. This capability allows for the creation of high-quality, educational, or entertaining content that can reach a wide audience, fostering a community of engaged followers.
Sharing Gameplay and Tutorials
For the gaming community, the ability to screen record gameplay on the iPhone opens up avenues for sharing strategies, achievements, and in-game content with fellow gamers around the world. Gamers can create tutorials, share tips and tricks, or simply showcase their gaming skills. This not only enhances the gaming experience but also helps in building a sense of community among players who share similar interests.
Personal Use and Memory Keeping
Beyond professional or educational purposes, screen recording on the iPhone can be used for personal reasons such as saving memorable conversations, recording video calls with loved ones, or capturing moments of inspiration found online. This feature allows individuals to preserve memories and information that can be cherished and revisited.

Advanced Tips for iPhone Screen Recording
Delving into the realm of iPhone screen recording unveils a plethora of options and tricks that can elevate your recordings from basic to professional-grade. Whether you’re aiming to produce content for an audience or capture moments for personal use, these advanced tips will help you maximize the potential of your iPhone’s screen recording feature.
Utilize Third-Party Apps for More Features
While the built-in screen recording tool on the iPhone is convenient for quick captures, third-party apps open the door to enhanced functionalities. Applications like TechSmith Capture and Screen Recorder+ offer features like external audio inclusion, on-screen drawing capabilities, and more sophisticated editing tools. These apps can be especially beneficial for content creators looking to produce detailed tutorials or for educators aiming to create more interactive and engaging instructional videos.
Optimize Recording Settings for Your Needs
Before you start recording, consider what the final use of your video will be. For high-quality content creation, ensure your iPhone is set to its highest quality video format in the Settings under Camera preferences. This is crucial for maintaining clarity and detail, especially if you plan to edit and share your recordings publicly. Additionally, managing your storage by offloading unused apps and media can prevent interruptions due to space issues.
Edit Your Recordings for a Polished Look
Editing is a key step in producing a video that’s engaging and professional. The Photos app on your iPhone provides basic editing capabilities, allowing you to trim the start and end points of your recordings. For more advanced editing, such as adding text overlays, background music, or combining multiple clips, explore dedicated video editing apps like iMovie or LumaFusion. These apps can significantly enhance your screen recordings, making them more informative and enjoyable to watch.
Enhance Audio Quality
If your screen recording includes commentary or background music, it’s important to ensure the audio quality is clear. Use an external microphone if possible, especially in noisy environments, to capture high-quality audio. Additionally, apps that allow you to record your screen and microphone audio separately can give you more control during the editing process, enabling you to balance levels and ensure your narration is not drowned out by background sounds.
Practice Good File Management
After recording and editing your videos, organizing them efficiently is crucial for easy access and sharing. Create folders in your Photos app or on cloud storage services to categorize your recordings by type or project. This not only helps in keeping your workspace tidy but also streamlines the process of finding and sharing specific recordings with others.
How to Share Location on iPhone: A Step-by-Step Tutorial
How to Screen Record on iPhone: Conclusion
How to screen record on iPhone? “Simply enable the Screen Recording feature in the Control Center, then tap the record button.” From educational content to capturing special moments, screen recording on the iPhone offers endless possibilities. With this guide, you’re well-equipped to explore all that screen recording has to offer.
FAQs
Can I record audio with my screen recording?
Yes, you can record audio by long-pressing the screen recording button in the Control Center and enabling the microphone.
How long can I record my screen?
There’s no set limit for screen recording on the iPhone; it depends on your available storage space.
Why doesn’t my screen recording have sound?
Ensure the microphone is turned on before starting your recording. You can adjust this in the Control Center.
Can I edit my screen recording on my iPhone?
Absolutely. The Photos app allows you to trim your video, and third-party apps offer more comprehensive editing tools.
How do I share my screen recording?
You can share your screen recording directly from the Photos app via email, social media, or cloud storage services.

